PART 1: THE INTRO:
I'm doing this blog post in parts because my phone doesn't handle posts with many pictures very well.
Also I'm calling my prefolds "fitted leg prefolds" (FLP's) now because using the term "hybrid" confused people.
However that confusion got me thinking: is a hybrid prefold possible? And after much thought I think it might be. I'll call it a "hybrid fitted leg prefold" (H-FLP's). It will however mean the diaper can only be folded in Angel fold and Jelly roll fold (with or without poop catchers). Again I don't see this as an issue personally since I only use these two folds anyway and having the fitted legs already creates these fold restrictions.
Will I create other prefolds crossed with other modern diaper styles? I don't think so (but who knows). Doing the hybrid option means using a synthetic. I'm semi ok with using polar fleece (windpro is a great brand of this) since it washes well and prefolds traditionally are not to thick and the combination of number of layers, cotton (or hemp) and their open design means they wash well. I will be testing these out to see how well they wash as I believe this is an important aspect of a diapers functionality. Again, ammonia should never be a common occurrence. It should be a one time accident while learning proper wash routine. I will make a post on my thoughts on this and initial reaction and later a long time use post.
Cut & Prep.
FLP: •Cut 2 flannel outer pieces. 14X18 in (width x hieght). Birdseye or muslin are also good fabric choices. Some people may wish to use 3 or 4 outer layers. I don't recommend more then that and I find 2 is sufficient.
*if making the H-FLP stick to 2 outer layers.
•Cut 2 core layers 5X15 I have one cotton batting and one flannel. Again Birdseye and muslin are also suitable, as is cotton Sherpa, and cotton or hemp Terry's. 4 layers is also an option but I don't recommend more, and I find 2 is sufficient.
• Cut two lengths braided elastic 4.3 in inches.
•Cut 2 lengths of Velcro (hook side) 2 inches and 1 (loop side) also 2 inches
• Cut 1 length of Velcro (loop side) 5.4 inches
•Cut 2 lengths of Velcro (hook side) 1 inch for laundry tabs.
* Velcro is optional if you prefer to use snappies or boingos you won't need Velcro.

H-FLP option:
•Cut 1 outside layer in printed cotton woven or knit. I'm using flannel (obviously printed is a personal choice) 14x18
• Cut 1 "T" polar fleece 13x17"T" top x5 Deep "T" stem x7 Wide (I initially cut the stem at 5 inch wide but think this may cause more wicking around the leg). *My 6yr old cut the T in this tutorial and didn't mention he couldn't find the lefty scissors so excuse the messy.cut lol.

1.•clean your bobbin run, change your needle and thread your machine.
•iron all fabrics
•place outer layer right side down
• place core layers on top
• iron top and bottom edges of fabric over core
Place inside layer over top. Tuck and iron top and bottom edges to match.
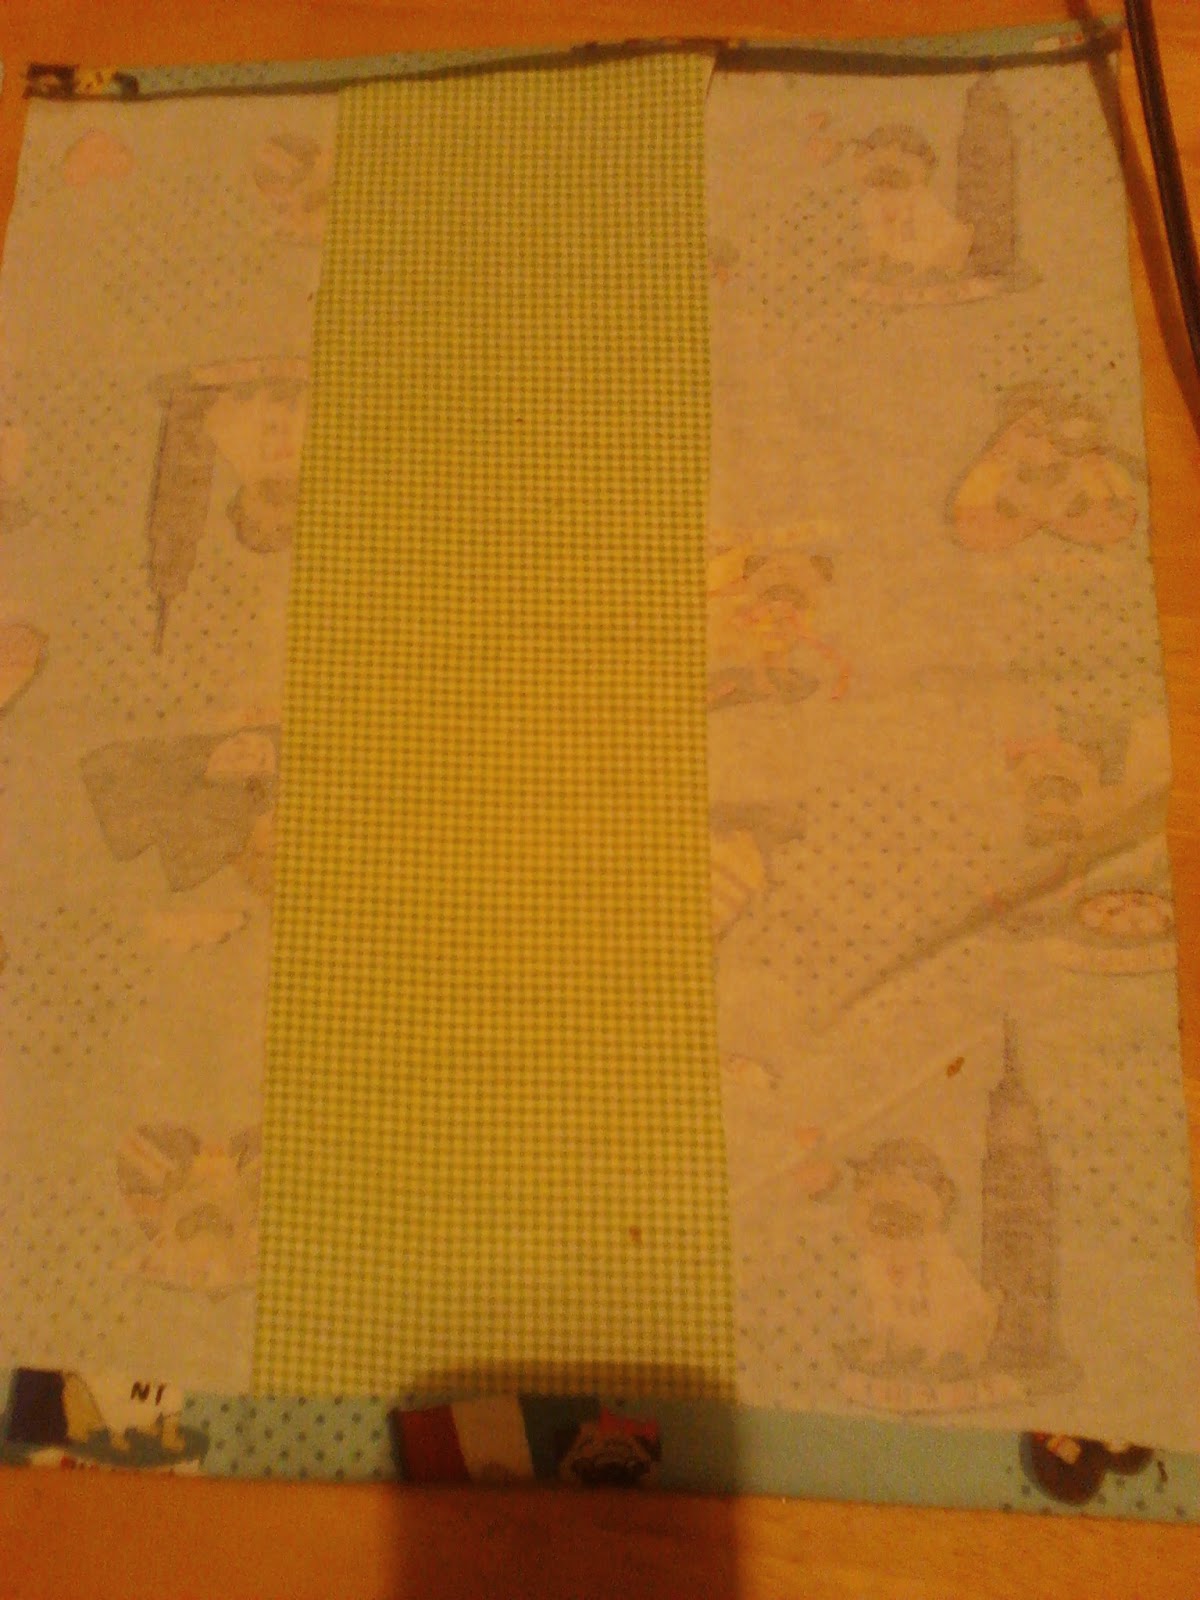

•place 3rd large flannel piece top side down
•place fleece on top
•iron top and bottom of flannel over fleece in the same way you did in the previous step.


